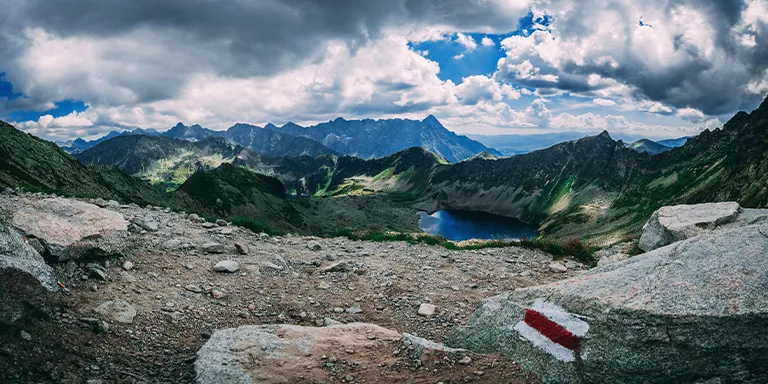
If you’ve camped before, you may be familiar with campfires and portable gas stoves. A backpacking wood stove offers an alternative for cooking outdoors without needing to carry heavy gas canisters.
In this post, we’ll teach you how to use a backpacking wood stove and harness the natural heat of a campfire in a compact, portable stove. Follow along, and you’ll become a wood stove expert in no time.
Key Takeaways
Gather dry tinder, kindling, and fuel wood. Hardwoods and resinous softwoods work best. Avoid damp, green wood.
Build the fire gradually – light tinder, add kindling, then small fuel pieces. Leave airflow space.
Control temperature by adding fuel incrementally and adjusting air vents. Let fire burn out fully before moving.
Choosing a Backpacking Wood Stove
When selecting a stove, consider these factors to find the most suitable option:
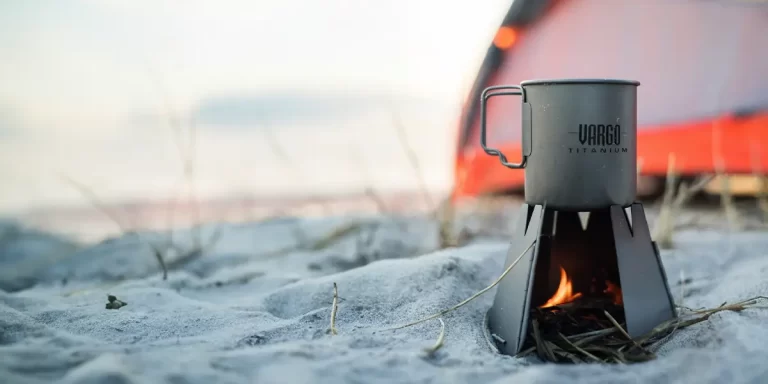
Weight and Size: Ultralight stoves made of titanium weigh around 0.25-0.5 lb, while steel models are heavier at 2-3 lbs. The lightest ones fold up the smallest for easy carrying.
Materials: Titanium heats up well and lasts longer than stainless steel, but it costs more. Steel is cheaper but can rust. If you like lightweight gear, go for titanium.
Design: Some stoves are foldable for better portability, while others are a single piece. When backpacking, we always choose the most portable option.
Heat Output: Stoves vary in power, affecting boiling times. Smaller ones reach ~500°F; larger ones, 800°F+. Consider your needs—boiling water or grilling? Larger stoves are better for grilling.
For more information, check out our dedicated post on choosing the perfect wood stove here.
Popular ultralight backpacking wood stove options include:
Here are the four key steps to operate a backpacking wood stove:
Step 1: Gather Fuel
When choosing materials to gather for your stove, it’s important to select only fully dry options that will light and burn easily. Green or damp wood will reduce efficiency and produce more smoke. Think of the saying, “If it doesn’t crack, throw it back.”
While even wet wood can burn if it’s hot enough, backpacking stoves don’t provide a lot of space or heat. Using dried wood helps you get the best performance from these small stoves.
Here’s what to look for:
Tinder: Choose tinder that easily catches fire with minimal flame. Birch bark ignites rapidly, dry summer grasses work well, and hardwood leaves such as oak, maple, and willow are good options. Avoid evergreen leaves. Dried pinecones can also serve as effective tinder.
Kindling: Choose kindling from dead sticks and twigs, around 1/4 to 1/2 inch thick, snapped from standing dead branches. Avoid green, moist wood. Birch tree bark, with its waxy coating, is effective intermediate kindling to enhance the fire before adding larger fuel wood.
Fuel wood: Use dead sticks or small logs, 2-3 inches thick, broken or cut to fit inside the stove. Hardwoods such as oak, maple, and fruitwoods burn longest with hot embers. Test a sample piece first for diameter. Remove bark since it holds more moisture.
When gathering firewood, consider the difference between hardwood and softwood. It’s okay to use a bit of softwoods like twigs, but keep in mind they tend to leave more soot than hardwoods.
In really wet conditions, it’s a good idea to have some solid fuel cubes (e.g., ESBIT cubes) as a backup. They only weigh half an ounce, and just one is sufficient to boil water for a meal.
Step 2: Get the Fire Started
So how should you ignite the fuel you just gathered?
First, lay a small amount of properly dried tinder material at the bottom of the stove. A handful of braided dry grass or loose pine needles works well.
Carefully arrange several thin kindling sticks in a crisscross pattern over the tinder, leaving spaces in between for air flow. Have additional kindling and your lighter or matches close by.
Light the tinder in multiple points if possible until it’s burning reliably on its own. Gently blow on the flames to help them spread to the kindling.
Once the kindling is burning steadily, you can add one or two thin fuel pieces. Monitor closely and only add more wood once the previous pieces are fully engulfed in flames.
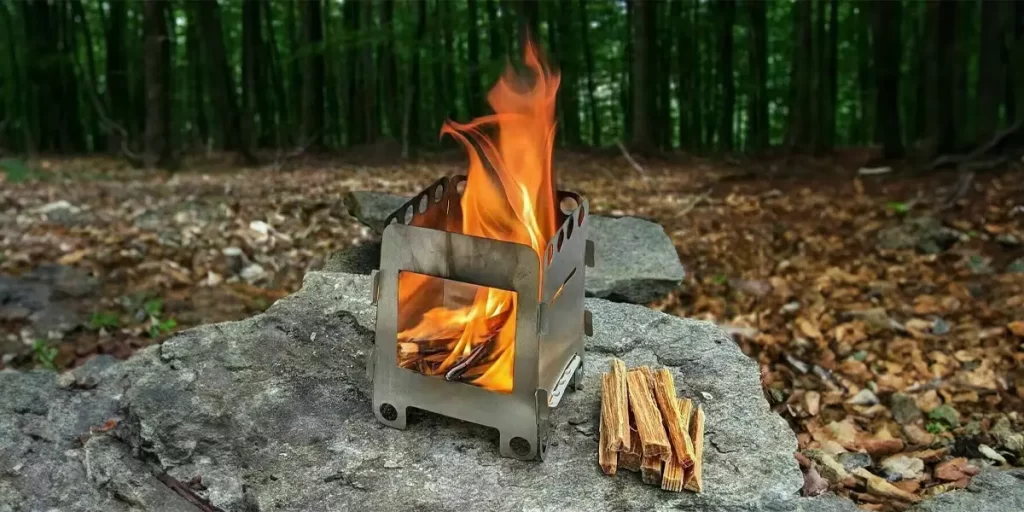
Step 3: Build the Fire
By now, you should have a small fire. Let’s get it ready for cooking quickly:
Add slightly larger kindling pieces perpendicularly once the initial kindling is burning well, establishing airflow through the sides for effective combustion.
Gradually add fuel wood pieces one at a time to avoid smothering flames. Leave space above for heat to rise up and below for air to come in.
Stack the wood like a lean-to tent so it’s open on all sides.
Check on it occasionally and open the door vents or add small pieces if needed
Remember to go slowly when adding more wood, depending on how hot you want it. Let the base fire get really going before setting the cooking pot on top.
Step 4: Cooking
Now, you’re almost ready to cook. Just follow these final steps:
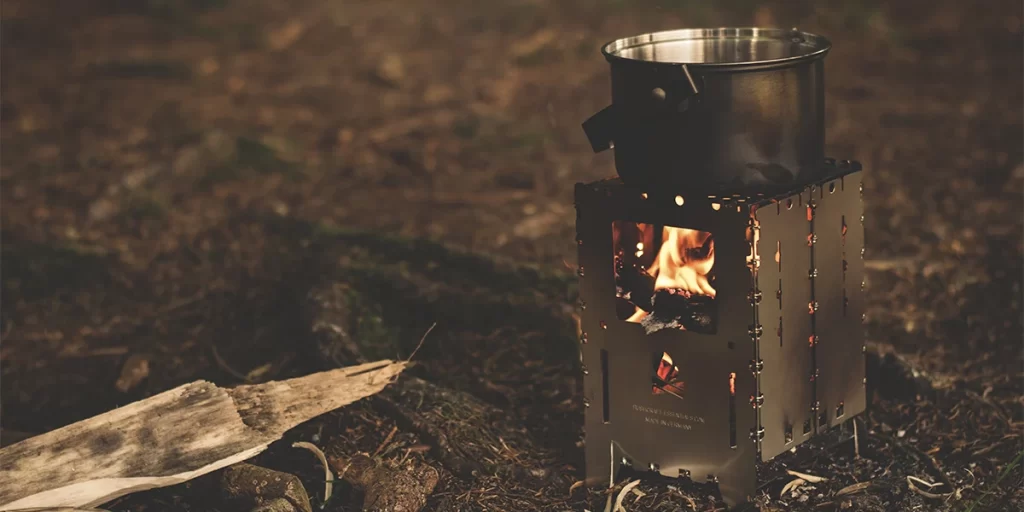
Put your pot or pan on the grate above the burning wood. Leave some space all around for heat to move.
Add small pieces of fuel slowly to keep the fire hot enough to cook. You may need more wood for boiling water and less for simmering.
Stir your food a lot so it cooks evenly, and cover wet foods or use a windscreen. Check on the fire regularly so it doesn’t go out.
Adjust the door vents to control the burning time, usually around 30 minutes. Efficient stoves can boil water in 7-10 minutes.
Cleanup and Safety
So, you’ve got your hot meal, and it’s time to start packing up the stove. Here’s what you’ve got to do:
Let the fire burn all the way out which could take 15-30 minutes depending on size. You can break up the wood pile to help it go faster
Make sure only ashes are left before putting it out with water. Let the stove body and grate cool off fully before touching. Titanium stoves usually cool down in 15-30 minutes.
Be cautious when removing ashes; they might still be hot. Add water to ensure they’re cooled down. Ideally, you want to bury them. Remember to follow Leave No Trace Principle #5.
For safety and regulations, consider the following:
Keep Distance: Remember to only use your wood stove in an open area away from tree branches. Keep tents and backpacks at least 10 feet (3 meters) back and have water close in case.
Fire Bans and Restrictions: In fire season, some national forests and parks ban open fires, including campfires and backpacking wood stoves. Before your trip, check with the land agency for current fire restrictions. If conditions aren’t safe, be ready to switch to a gas-powered option.
Conclusion
Using a backpacking wood stove opens up a world of gourmet campfire cuisine without the hassle of a full campfire. With the right stove and skills, you can harness renewable fire-power to bake, boil, grill, and simmer in the wilderness.
Just be sure to check local fire rules, choose dry wood, build the fire gradually, and let it burn out completely. Follow our tips, and you’ll be a backpacking wood stove master in no time.
As the fire crackles and your food sizzles, you’ll feel a satisfaction no gas stove can provide. So get out there, gather some wood, and let your inner pyro chef run wild!
Are you on the hunt for the lightest stove option available? Check out our TOP 5 guide for the best and lightest stoves on the planet.
FAQ
What safety precautions should I follow when using a backpacking wood stove?
Make fires only in open spaces away from trees and bushes because embers might cause a fire. Keep tents and gear at least 10 feet away and have water nearby, just in case. Wear thick natural fabric clothes like wool. Check for fire bans before your trip to know the rules. Always completely put out the fire before moving the pot or adding more fuel. Never pour water on hot ashes; wait until they cool down completely.
How do I control the temperature on a backpacking wood stove?
Mastering the temperature on your wood-burning backpacking stove requires practice. For increased heat, like when boiling water, add small fuel pieces, such as sticks, gradually. Use less fuel for simmering by adding pieces one at a time. Regularly check and adjust the air vents on the door to control the fire’s speed. Stir your pot frequently for even cooking. With time, you’ll improve at gauging the fire and understanding the right amount of wood needed for the desired cooking temperature.
Can I use a backpacking wood stove in all weather conditions?
Your wood-burning backpacking stove works best on sunny, dry days with dry wood. Wind, rain, and extreme wet or snowy conditions can make it challenging. Check the weather forecast before your trip and consider a backup gas stove. Learn the stove’s limits in fair weather, and stay flexible with your cooking plans depending on Mother Nature’s conditions!
Can I use a backpacking wood stove in a tent?
Using a wood-burning backpacking stove inside a tent demands caution. Ensure proper ventilation with a stovepipe, but be wary of carbon monoxide. Only light small, controlled fires, never leaving the stove unattended. Watch for poor ventilation signs, and consider cooking outside for safety. Though it might work in emergencies with proper ventilation, using this stove in open air is always safer.
Spread the word →
Share
Facebook
Twitter
Email
Why you should trust us
At Hikinglite, we're all about helping you hit the trails with lightweight and ultralight outdoor gear that won't weigh you down. Our crew of content creators? Real outdoor enthusiasts who've logged countless miles on the trails.
Leading the pack is our editor-in-chief, Alex Jardine – an ultralight evangelist who's hiked over 10,000 trail miles across the globe. He's basically a walking outdoor encyclopedia. This dude loves testing out the latest and greatest products, so you can trust his recommendations are always well-informed and reliable.
We treat all our suggestions like advice from close trail buddies. No fluff, just real insights from folks who live and breathe the outdoor life.